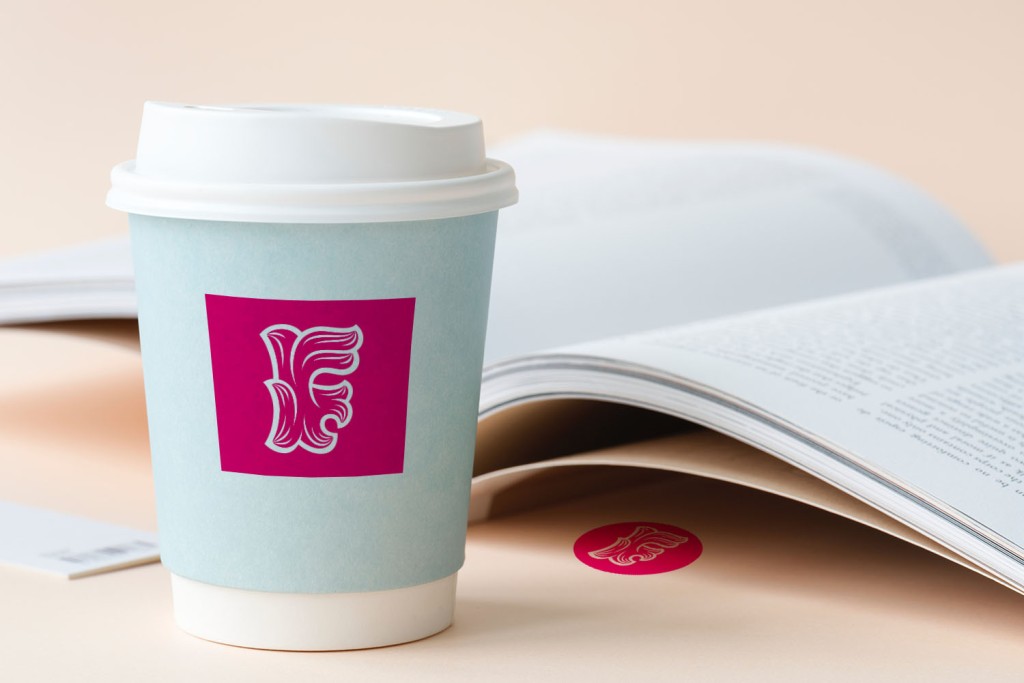
After finishing off Smart Objects in the last post, we are now moving onto using Transform and Wrap and getting very close to the end of this course!
If you’d like to see the rest of my mini-reviews for this tutorial series, you can do so here.
In today’s lesson we will be using the following assets:


As with the previous tutorial, you will be using the above vector files from Illustrator which are provided by the course instructor. As you can see one is a flat logo file and the other one is called a brand file for branding something which we’ll be doing in this tutorial.
You will start off with this asset first:

Once you open this up in Photoshop, we will then be using the logo file first so you will need to bring that into photoshop using the transform tool. Our objective with this file is to make it look as flat as possible so that it sits on the table in the image as part of the table (it could be a sticker placed onto the table). Just remember that we need to rasterize these images so we won’t be using smart objects for this exercise (make sure you disable it in by right-clicking on the image and choosing “rasterize image”).
You will need to use the transform tool to make the logo look as flat and realistic as possible. It should hopefully look something similar to what I’ve done here:

The next step is using the warp tool which is one part of the transform tool’s many options. Warping is exactly as it sounds – you are going to bend and squish and pull and push the brand into shape so that it looks kind of like it’s wrapped around our cup mock up like this (remember to rasterize!)

And the final step to make the logo and the branding look more realistic is to add a “multiply” blending effect to darken the logo and branding file as I have done above by choosing the blend mode from the drop-down menu in the layer window.
Does your mock up look like it’s ready to show to your client? These techniques are used by graphic designers the world over when preparing and creating mock up ideas for their clients. It helps your client to visualise what their brand might look like on a coffee cup or a table for instance.
And that’s another short and sweet tutorial to get you warping and transforming like a pro! I hope you enjoyed this tutorial review.
Please let me know if you’re following this tutorial series or if you have any comments or questions about any of the art on this blog. I’d be keen to discuss with you!
Until tomorrow, stay safe out there, keep creating and I’ll catch you in the next post!
