I’ve created neon effects before but that was just for outlining other images to add something to it and make it “pop” a little. This simple tutorial (it really is the easiest one I’ve done) uses a similar technique but uses a little masking as well to make the overall effect look more realistic on the image.
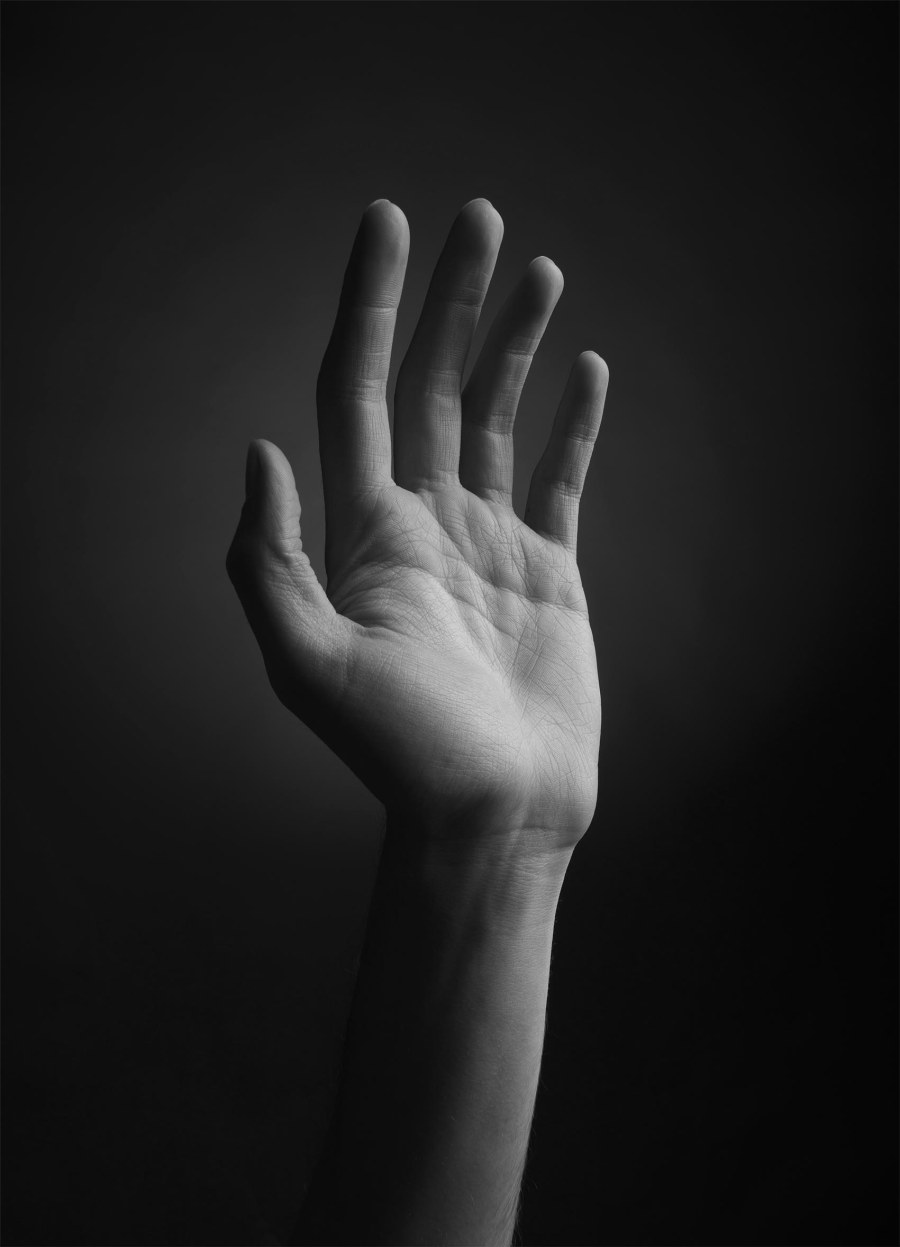
Here’s the before stock image:
This is my finished edit:

The adobe tutorials are also really good for beginners because they usually provide the stock photos for you for free as long as you’re only using them for this tutorial. But isn’t it amazing how a simple masking effect using blend modes in Photoshop can create something quite cool. I’ve always wanted to learn this technique ever since I first saw it used in a graphic design poster on Pinterest. And now I know how it’s done!
Website: https://create.adobe.com/2019/7/12/how_to_create_a_neon.html
Time: 5 minutes
Level: Beginner
Comment: I can’t really say anything bad about the Adobe tutorials other than they do move really fast through the techniques so if you’re just starting out, be ready to pause a lot as you go. But these tutorials are made with beginners in mind and they do advance in level as well so you know that you’re not biting off more than you can chew. The added bonus is there is a video clip to watch if you learn better that way or you can follow along step by step with the written instructions.
Rating: 10/10

Beautiful! It looks a little like the Doritos symbol!
LikeLiked by 2 people
Hehe what’s that? You mean the chips brand Dorito?
LikeLiked by 2 people
Yeah, lol, it was just the first thing that popped into my head.
LikeLiked by 1 person
I had to look at it and yes! I can see the similarities lol 😁
LikeLiked by 1 person