
I’ve wanted to create these for a long time and now that I have my new tablet, I am trying out everything I can! I saw this initial idea for social media graphics on Behance where I first decided to use this font. I liked the way the font looked and felt on the image and figured it would be pretty simple to create my own.
Using the same font I downloaded here, I decided to create a similar graphic to the one used as an example for the font. While this isn’t my first graphic edit, it’s definitely my first edit with social media use in mind. I also decided to add a small animated overlay to it which I think people will enjoy.
Original image/photo credit
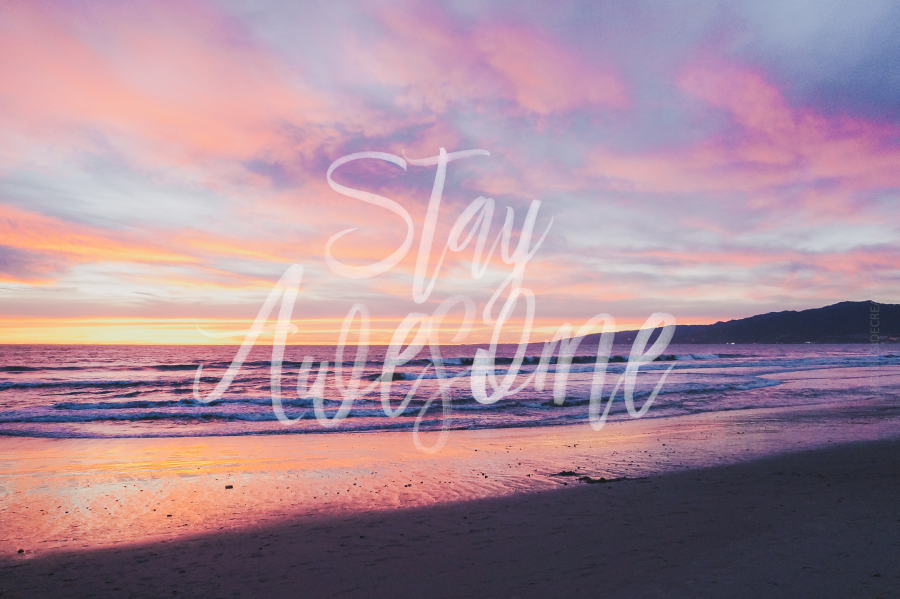
First Edit
And the motion art version
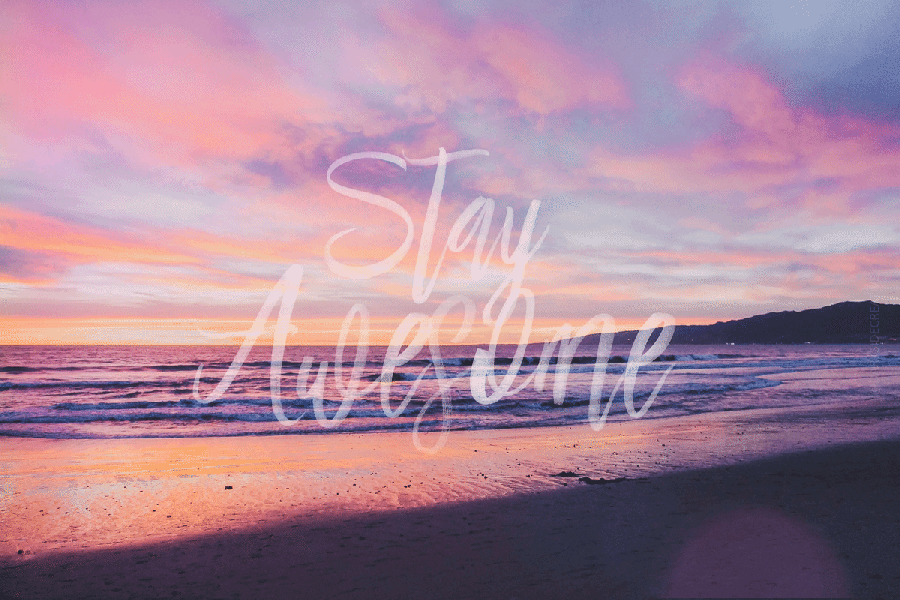
It’s very subtle because I wanted to try and keep the same colour scheme and general feel of the graphic. I think it worked out okay. It’s also my first time using SVG fonts but they’re pretty cool!
So my step by step process to create the above image is pretty simple:
1. Find a graphic that you want to use – you can do this pretty much anywhere but I recommend using royalty-free graphic websites like Twenty20 or Pexels or Unsplash. I use all of these websites for graphics and I do subscribe to some of them as well so you’ll need to make sure that what you’re using doesn’t require a subscription first.
BONUS TIP: You can alter the graphic if you want by editing hue, levels etc but I kept my graphic in its original state
2. Look for a font that you think will look appealing and take into consideration the message you’re trying to convey to your audience (I find that fonts can alter the meaning and emotion behind the graphic fundamentally so take some time to choose the right one).
BONUS TIP: SVG OPEN TYPE fonts are not like other, regular fonts. If you want to change the colour of an SVG font, you will need to create a layer colour overlay first. If interested, you can read about it here
3. Load up your graphic and type in your “message” – I borrowed the same message from the example on Behance because I liked it! You can always create your own.
4. Line everything up and make sure it looks even and balanced on your graphic
5. Resize your graphic for social media. Some of the graphics/images/photos you’ll find online are really BIG so you will need to resize according to social media size restrictions. This depends entirely on what you want to make (graphic, banner etc) and every website has its own size restrictions. I am just dumping mine on Pinterest.
And that’s it – upload to social media and spread your creative joy! 😊☺️😃

Thank you for these helpful tips!
LikeLiked by 1 person
Oh no problem at all 🙂 Very glad to help out a fellow creative! Thank you so much for dropping by! Did you end up making anything with my tips above? Let me know, I’d love to see what you created 🙂
Thanks again!
LikeLike