
I’m taking a little break away from the beginner Photoshop content, so I can focus on a short side-project tutorial review.
If you’ve ever wondered about how to create the “glitch” effect you see in a lot of images on social media, I found a tutorial online which I’ve just completed and reviewed.
What is the Glitch Effect?
There are multiple ways you can create the “glitch” effect with your images. This is just one method. And if you want to skip learning how to create the effect yourself, there are also dozens of Photoshop actions online to download. Some are free, some are not so you’ll have to do some digging.
The Kylo Ren image above is one example that I used to create the glitch effect with a Photoshop action. It’s also animated.
The tutorial will take you through the steps to create your own glitch image effect, but it’s a still image with no animation.
Pro-Tip:
Make sure all the images you use are the same size before you start the tutorial. It’ll make things a lot easier.
Okay, I’m ready! Where do I start?
There are links from the designer’s website here for all the assets you’ll need to create this graphic. The PSD file is also included if you want to see exactly how the designer created his version of the graphic.
There is a video clip of the tutorial and no transcription.
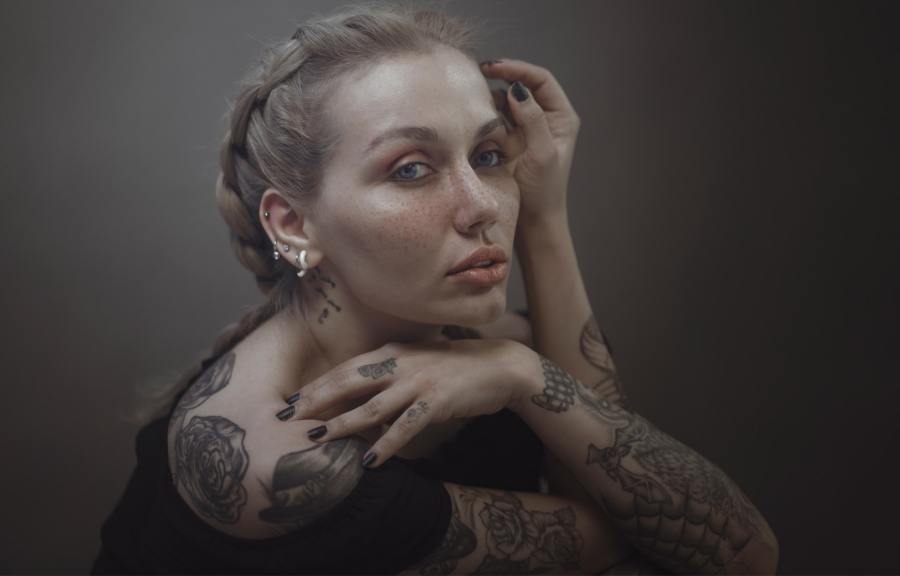
You’ll start off with this image of a model from Unsplash:
What you’ll learn and what you need to know
For this tutorial, you will need to have a good understanding of layers, layer adjustments, and how to edit them and copying and editing layers using the transform tool to resize images.
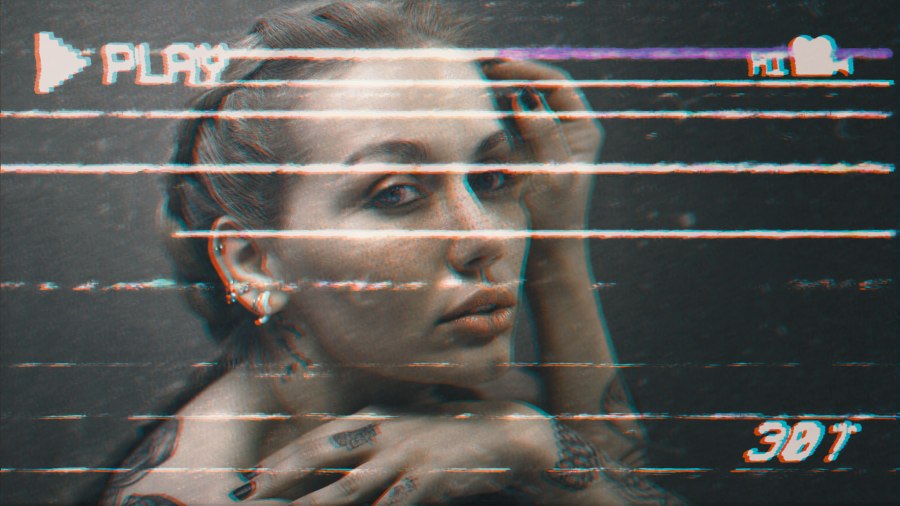
Adding and adjusting different texture files gives the image the “old film” appearance that you see in the completed image below. Then you will need to use adjustment layers to add the “glitch” colouring to the image (the purple and green lines you usually see in old video clips). And you’ll need to add other adjustment layers to edit the brightness, vibrance, and curves of the image.
My Glitch Effect Final Image
This is my completed image using the video tutorial linked above:
Final Summary
Website: https://www.youtube.com/watch?v=pIBed4QqRnM
Time: 15 minutes
Level: Some knowledge of layers, layer adjustments, and using textures is required
Comment: This is my first tutorial using the designer’s Youtube channel Daily Photoshop Tutorials. In my experience of reviewing Photoshop tutorials, the better ones come complete with video, text and transcription so you can easily follow along. If you’re a beginner, I do not recommend following any video tutorials like this one unless you are a quick learner.
That said, the tutorial itself was easy to follow for someone who already has some knowledge of how to use layers, textures and the photoshop transform tool.
Rating: 6/10
