
Today in our 30 Days of Photoshop series, Aaron is going to be showing us all about Adjustment Layers and what they are used for.
I am quite familiar with adjustment layers myself, but this is a wonderfully detailed tutorial for beginners without any prior knowledge. Aaron has structured the tutorial in such a way that you begin from the very foundation of an image and work you way up through all the different adjustment layers.
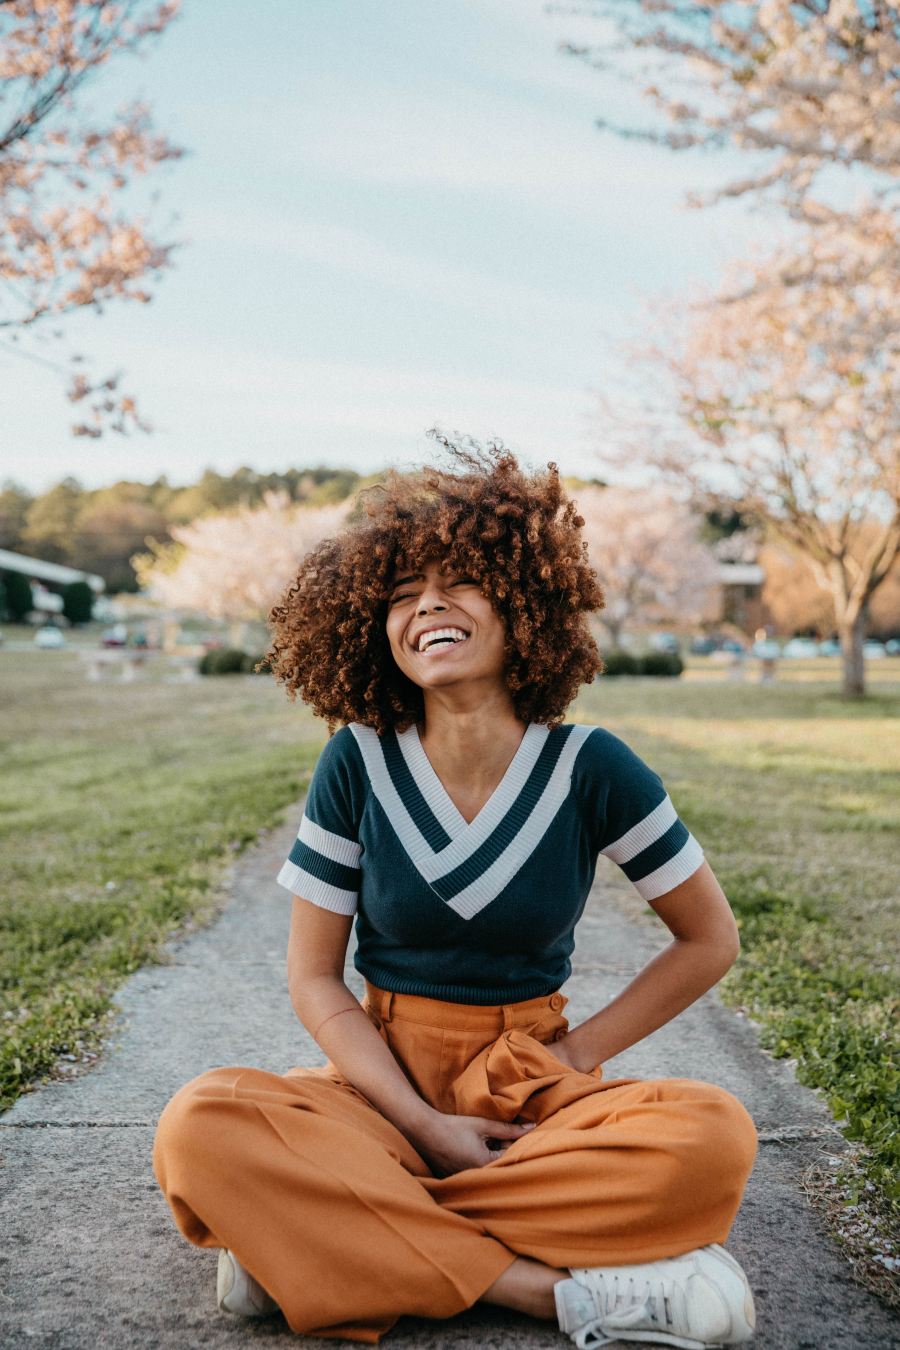
Using a sample image that is already provided, you will enhance the image using the majority of the adjustment layers to take a picture from washed out and average like this:
… to this which is the image I created with all of the edits applied from using adjustment layers:
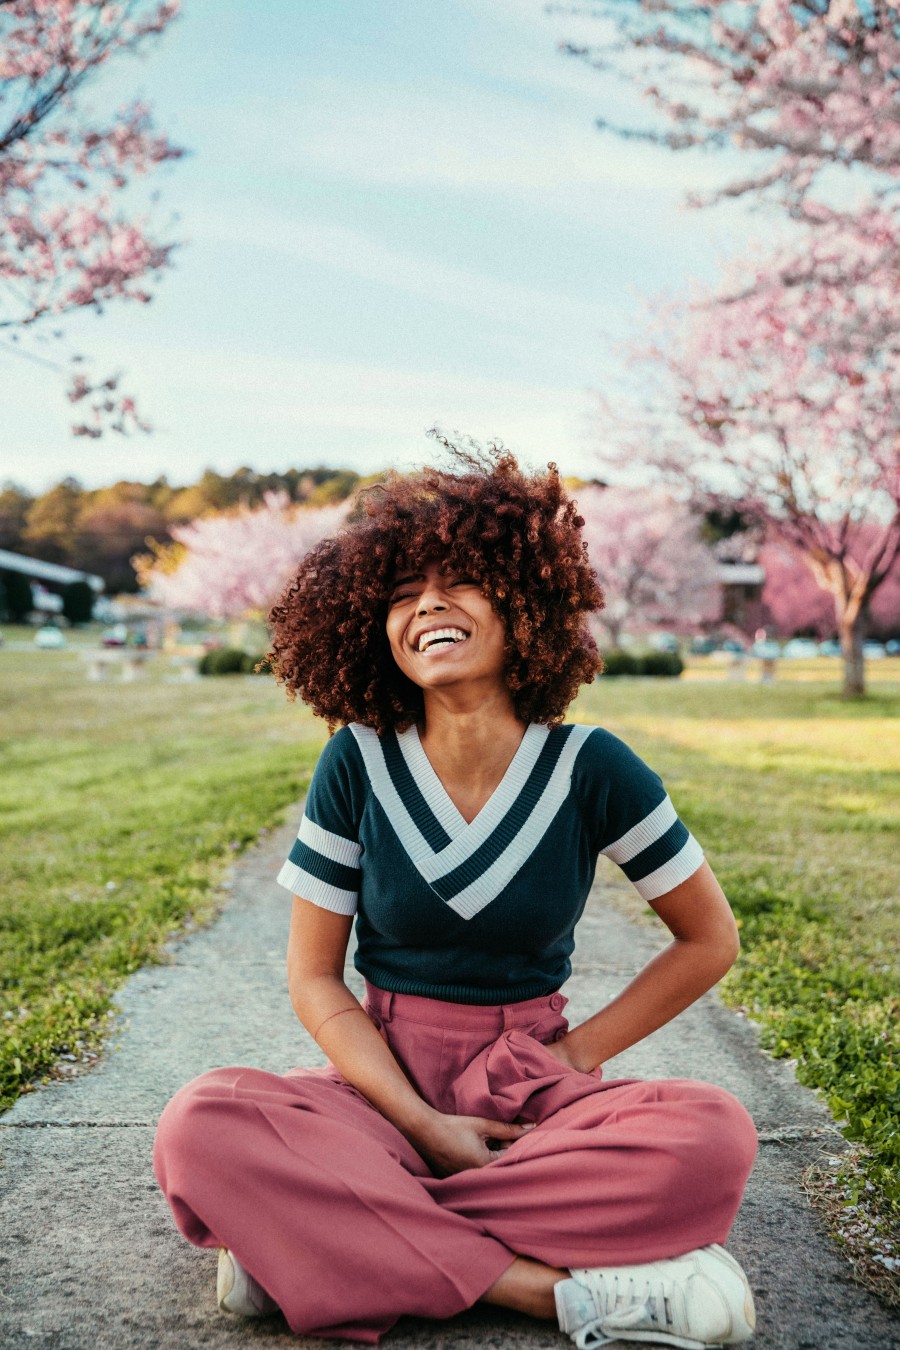
It really is quite amazing when you look at the before and after images. The colours are changed, the sky really pops, and the picture looks so much more vibrant.
To get this effect, Aaron combines the topics learned in previous tutorials such as layers and layer masks and then continues on with adjustment layers and layer masks. We used masks for most of the effects in the above-edited image, including inverted adjustment layer masks. Inverted adjustment layer masks is a powerful technique that allows you to control exactly where you want your adjustment to show in your image.
We’ll continue on through to lesson five in my next photoshop tutorial and I can’t wait to review it!
Until then, stay safe everyone and keep creating!
