
I worked my way through this rather annoying tutorial not once, but twice to finish it!
You begin with this image:

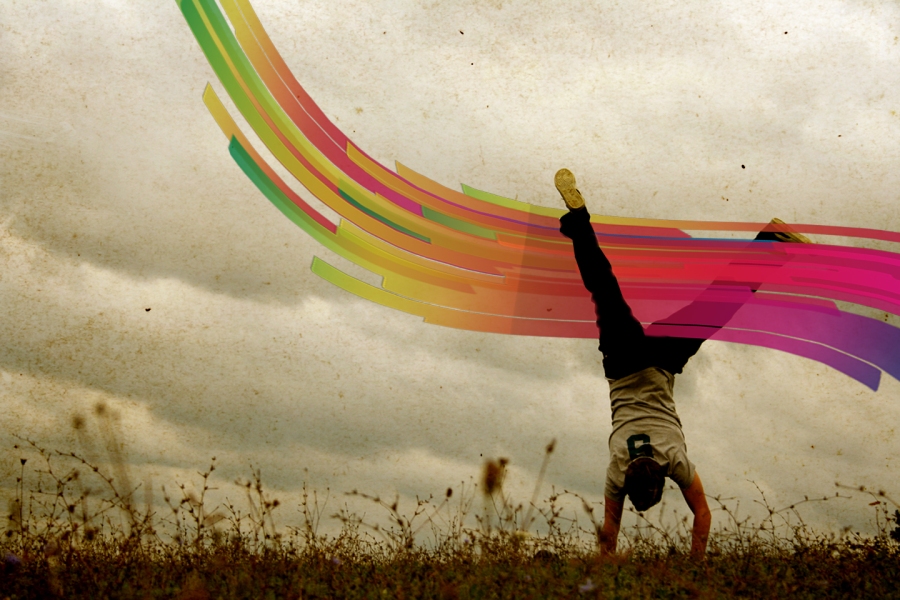
And eventually, your final image should look like this:
I had real issues with this tutorial to begin with which I blogged about here. But I’ve had a lot of practice since then and I finally got the hang of creating my brush to create this awesome technique.
The original tutorial adds a couple of steps that I did for completion which I edited afterwards for the final image above. I prefer the image like this, and I like how it looks compared to the original, so I’m keeping it!
***EDITOR’S NOTE*** I decided to add some animation to this one because I liked the colours so much. Enjoy!

Final Summary
Website: https://design.tutsplus.com/tutorials/mix-cool-retro-curves-into-your-photographs–psd-173
Time: 30 minutes
Level: Definitely not beginner unless you’ve had extensive time to learn how to create custom brushes in Photoshop.
Comment: Not all of the resources were available either so you will have to find a texture image of your own to create the final “old retro paper” effect.
Rating: 5/10
Let me know what you think? Have you tried using customer brushes in Photoshop before? How’d you find it? Let me know in the comments!
If you like my Photoshop posts, you can check out more of them right here.
And while you’re there, why not consider following me which you can do here.
